How Procurement Teams Can Validate Laser Cutting Accuracy
In the world of precision laser cutting, accuracy isn’t just a technical metric—it’s a critical success factor that impacts total landed cost, part fitment, and long-term reliability. For overseas B2B procurement professionals sourcing OEM parts or wholesale metal components, precision ensures projects meet specifications without costly rework or delays in the supply chain.
With over 26 years of manufacturing experience, YISHANG supports industries ranging from healthcare and vending to electronics, infrastructure, and energy storage. Whether it’s custom laser cut metal signs, tube laser cutting, or laser cut aluminum enclosures, our focus remains consistent: high precision at batch scale with full traceability.
This guide outlines the four critical stages that underpin reliable laser cutting accuracy—from CAD file analysis to post-cut inspection—tailored for professionals making informed procurement decisions. It also addresses questions like what is laser cutting, how does a laser cutter work, and when to choose between fiber laser vs CO2 systems, helping decision-makers align their sourcing needs with performance standards.
Phase 1: Digital Foundations – Engineering Accuracy Before the First Cut
CAD Design, GD&T, and Realistic Tolerances
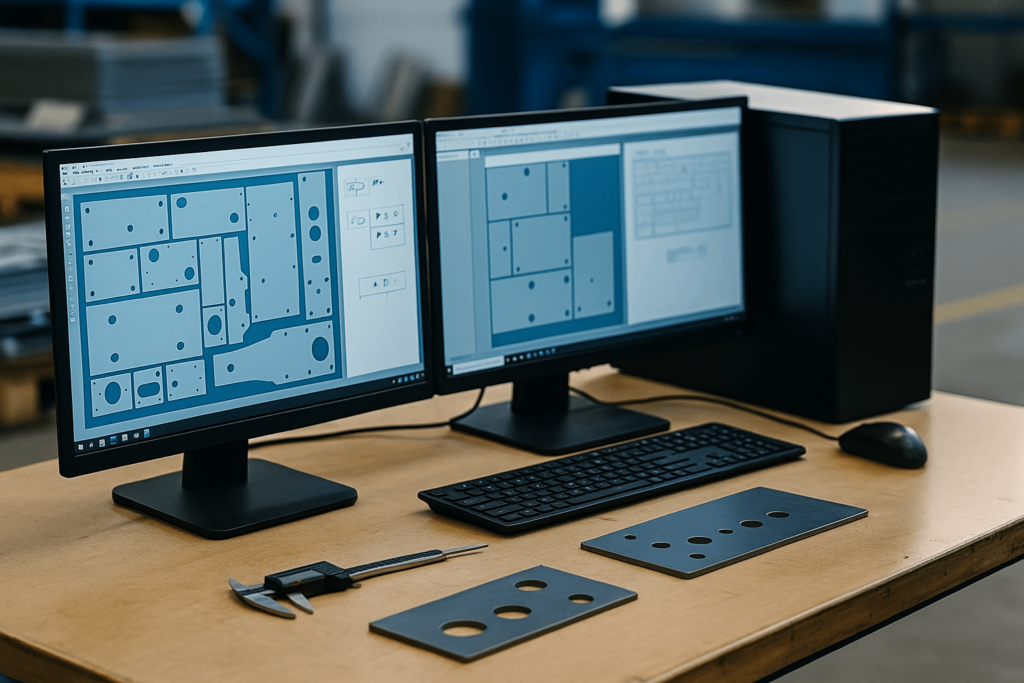
Accuracy begins before any material is touched. Every drawing submitted to YISHANG undergoes a Design for Manufacturability (DFM) review. This identifies red flags like undersized holes, over-toleranced features, or missing kerf allowances.
A common procurement pitfall is over-specifying tolerances. Rather than defaulting to ±0.05mm, we help clients apply Geometric Dimensioning and Tolerancing (GD&T) only where functionally necessary. This avoids increased manufacturing cost for non-critical features.
We reference standards like ISO 2768 or custom tolerance classes to ensure global specification alignment.
Material Behavior: Know Before You Cut
Different materials behave differently during laser cutting. For instance:
Aluminum has high reflectivity and thermal conductivity—making aluminum laser cutting more sensitive to kerf control
Stainless steel enables tighter tolerances but is sensitive to cutting speed and heat input
Copper and brass require special tuning due to reflection and thermal spread
Understanding these properties ensures design intent matches post-cut performance.
CAM Optimization & Kerf Compensation
Every cut file is programmed with CAM software tuned to machine capabilities. This includes:
Kerf compensation based on material and thickness
Pierce delay optimization
Lead-in and lead-out settings
Part nesting for heat distribution
These proactive steps ensure true-to-CAD output while minimizing secondary rework.
DFM Best Practices Table for Buyers
| DFM Guideline | Recommendation | Rationale |
|---|---|---|
| Minimum Hole Size | Diameter ≥ Material Thickness | Prevents poor heat evacuation and nozzle backflow |
| Internal Corners | Radius ≥ 0.5mm | Prevents stress concentration and distortion |
| Feature Spacing | ≥ 2× Material Thickness | Avoids heat warping, maintains sheet rigidity |
| Kerf Awareness | CAM-based compensation | Ensures dimensional fidelity to CAD after material removal |
Reducing Scrap Through Right-Sized Tolerances
A European electronics buyer once spec’d ±0.02mm for a non-critical display bracket hole. Analysis showed ±0.2mm was sufficient, cutting 18% from total part cost. Right-sizing tolerances avoids unnecessary complexity and minimizes scrap rate in bulk orders without compromising fit.
Phase 2: Machine Setup – Controlling Heat-Affected Zones in Aluminum Laser Cutting Projects
Matching Laser Parameters to Material Response
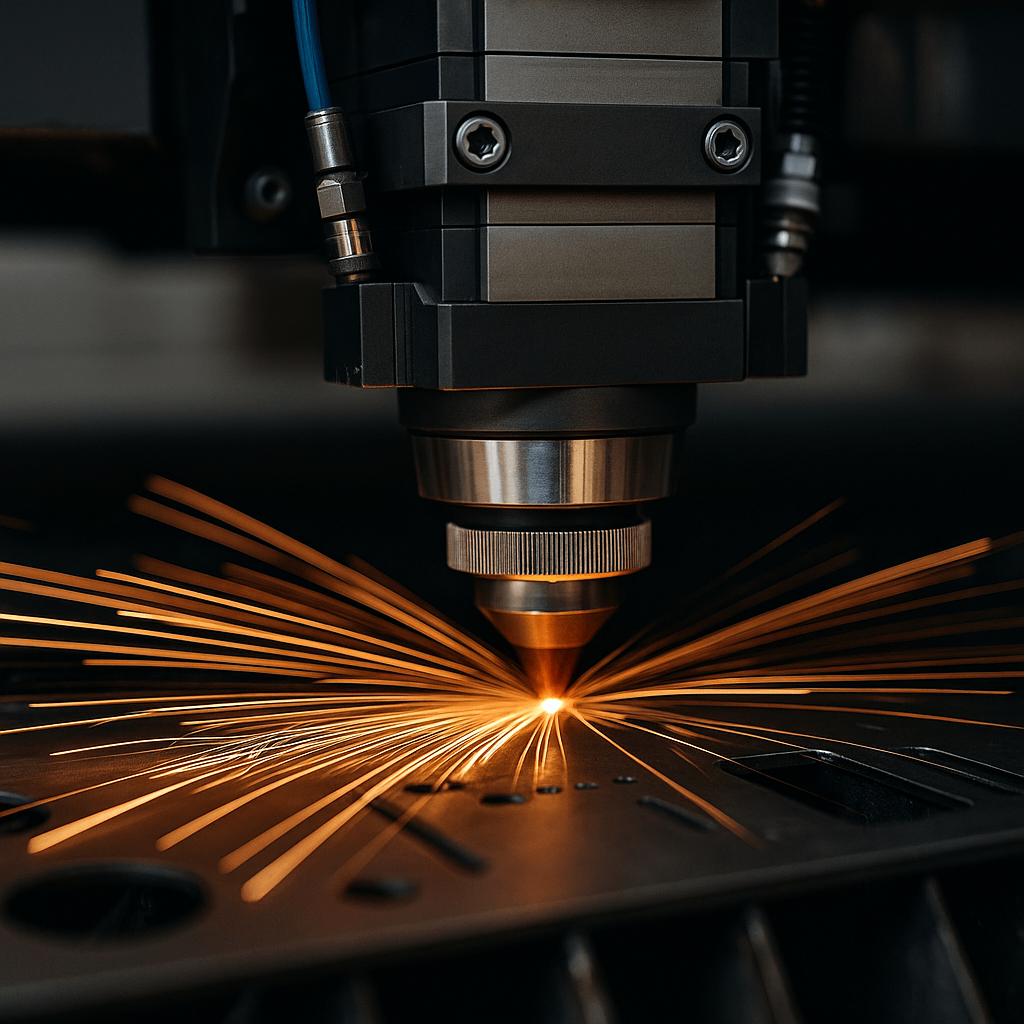
Every material has a unique interaction curve with the laser beam. Our internal database covers 40+ materials and hundreds of cut profiles. Key variables include:
Laser Power: Higher for reflective or conductive metals
Cut Speed: Balances HAZ control with productivity
Assist Gas Type: Oxygen for carbon steel; nitrogen for clean stainless edges
These ensure optimal outcomes whether cutting laser cut boxes, laser cut metal signs, or precision tube laser profiles.

Focus Adjustment to Control Taper
Improper beam focus causes taper, especially in thick materials and tube cutting. To avoid this:
We shift focal points depending on thickness
Use tighter beam nozzles for small cut radii
Apply pulse tuning on reflective materials
This enables tight angular accuracy on tube laser cut and laser cut aluminum components.
Mechanical Stability = Dimensional Stability
Precision isn’t just about lasers—it’s also about mechanics:
Rigid machine bases reduce deflection
Servo-driven motion systems maintain X/Y positioning
Automatic nozzle calibration maintains kerf consistency
These features, combined with 5-axis laser cutting support, ensure we meet tolerances consistently.
Phase 3: Execution – Reducing Assembly Time Through Consistent Laser Cutting Accuracy
Smart Nesting & Process Control
Smart nesting reduces thermal impact and maximizes material utilization. For large runs, we:
Lock settings for the entire batch
Analyze part geometry for thermal symmetry
Document all cut parameters for repeatability
This ensures consistent output from batch to batch—critical for wholesalers ordering 500+ units.
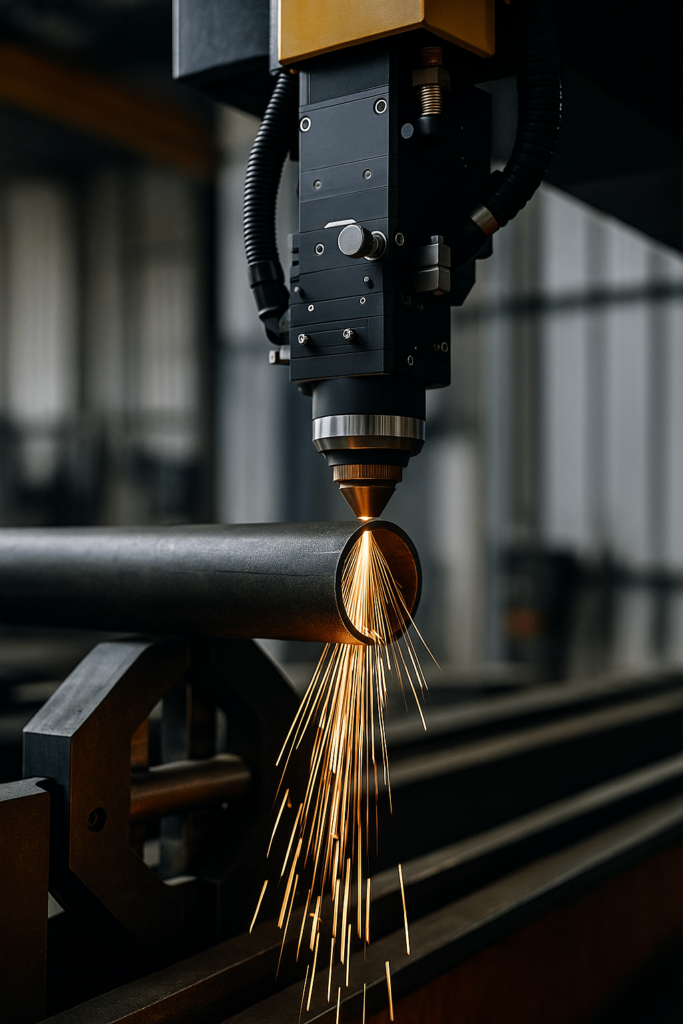
Tube and Profile Cutting
YISHANG supports tube laser services including:
Slotted holes
Miter joints
Chamfered edges
Compared to laser vs plasma CNC or waterjet vs laser, our fiber laser systems deliver tighter tolerances, better edge finish, and no secondary cleanup for most metals.

Real-Time Monitoring Systems
Our machines feature live monitoring, including:
Kerf deviation alarms
Beam intensity feedback
Sheet alignment sensors
These systems reduce in-process waste, a major benefit for procurement teams sourcing cutting laser metal in high volumes.
Phase 4: Inspection – From Measurement to Documented Assurance
Tiered QA Based on Risk & Sector
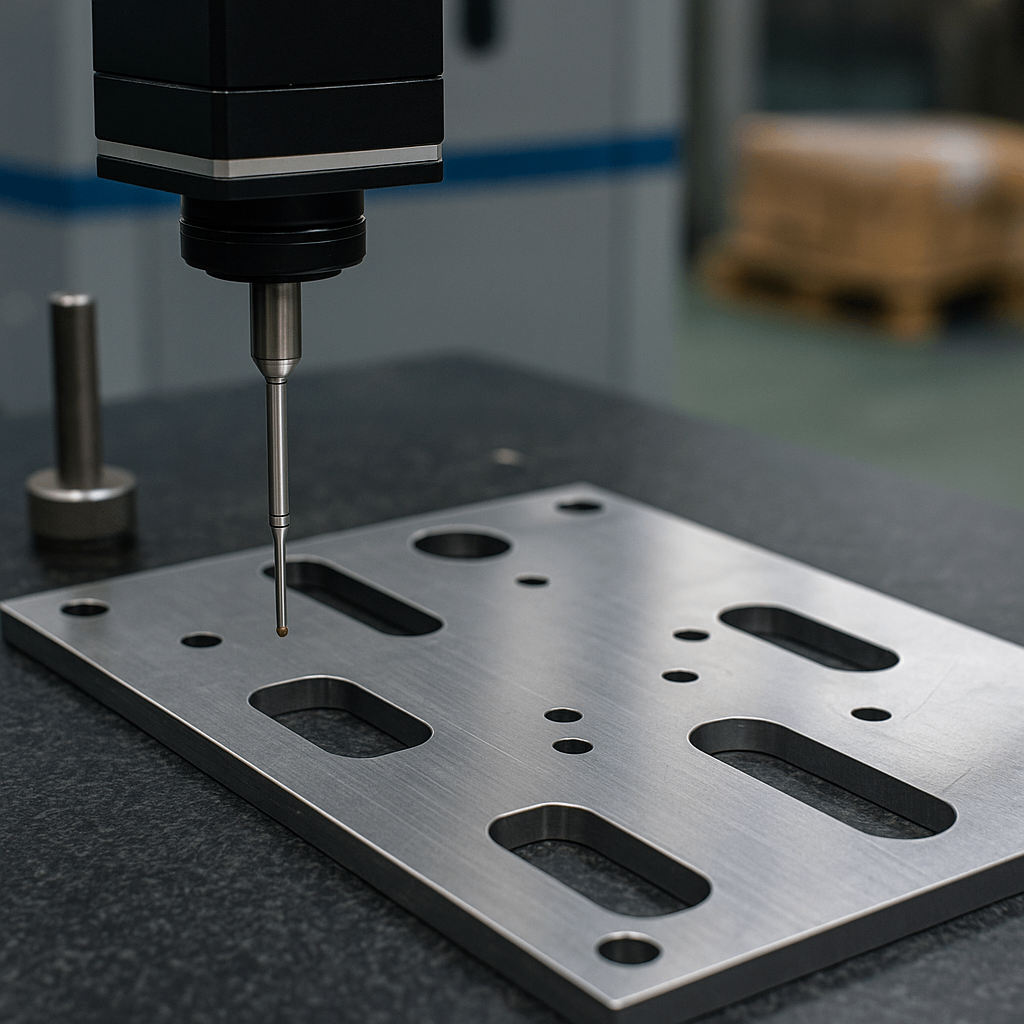
Not all orders require CMM inspection. We tier QA as:
Level 1: Caliper check (±0.2mm)
Level 2: Pin gauge, thread check (±0.1mm)
Level 3: CMM or 3D scan (±0.05mm)
This aligns quality assurance with the application—critical for EV, medical, and structural clients.

Documentation for Full Traceability
Our documentation package includes:
Material certs (e.g. RoHS, batch ID)
Operator ID and shift data
CAM version and machine config
These support compliance with ISO 9001 and sector-specific audits.
Feedback Loop = Continuous Accuracy
Inspection data is not archived—it’s analyzed. If repeated deviation is found, we:
Update cut parameters
Adjust CAM inputs
Flag materials from specific batches
This improves outcomes over time and ensures consistency in recurring orders.
Common Applications Where 0.1mm Makes a Difference
Applications that demand tight tolerances:
Medical Fixtures: Fitment of sterile modules
Energy Storage Housings: Preventing vibration due to poor fit
Retail Hardware Displays: Perfect alignment across assembled parts
Understanding laser beam machining advantages, fiber vs CO2 laser behavior, or even laser etching vs laser engraving supports better part selection during sourcing.
Conclusion: Precision as a Procurement Differentiator
Laser cutting accuracy is not theoretical. It’s actionable.
At YISHANG, we approach each drawing as a spec that must be verified—not just executed. Through proactive engineering reviews, intelligent CAM planning, calibrated machines, and traceable QA, we ensure accuracy from design to delivery.
Looking to reduce scrap and improve repeatability across bulk metal parts? Let’s discuss your upcoming order today.


