Introduction: From “Rule of Thumb” to Physical Law
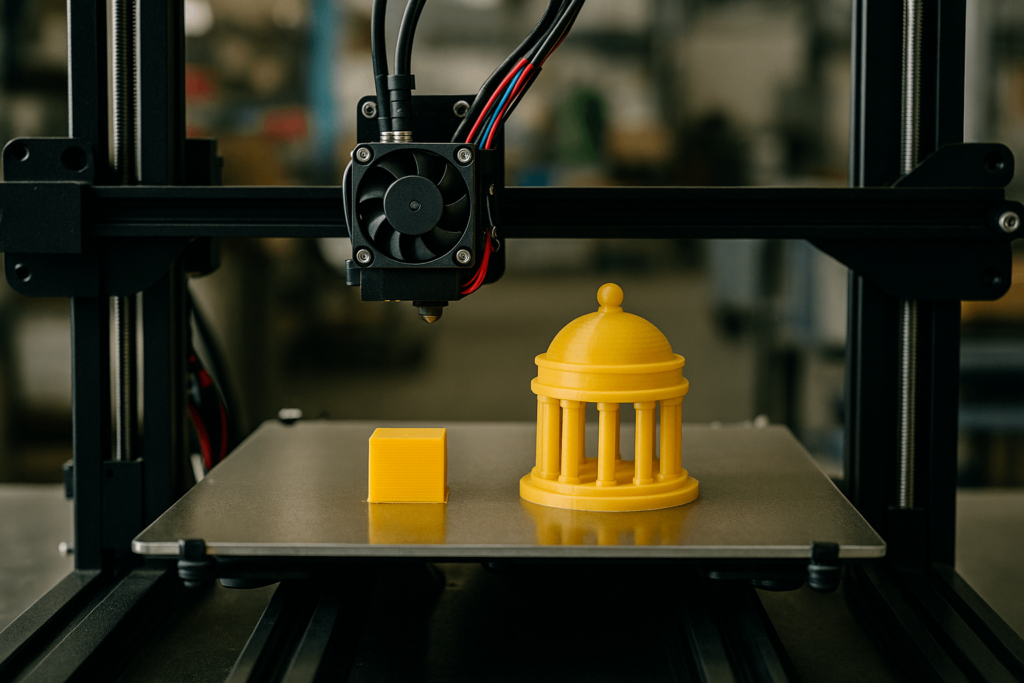
In FDM printing, “set the PLA bed temperature to 60°C” is one of the most common pieces of advice. It is not wrong. In fact, it is a good starting point for many printers and filaments. But in engineering work, a starting point is not the same as a controlled process.
When PLA prints warp, lift at the corners, develop elephant’s foot, or vary from one batch to the next, the issue is rarely random. More often, it is the result of unmanaged thermal stress, inconsistent first-layer bonding, poor surface preparation, or a mismatch between material, build plate, and print settings.
This guide explains PLA bed temperature as a thermal management problem rather than a fixed number. The goal is practical: help engineers, prototyping teams, and sourcing buyers understand how to control the first layer with enough repeatability for real production decisions.
The Engineer’s Decision Matrix for PLA Bed Temperature
For most PLA printing projects, the best bed temperature depends on part geometry, print speed, build surface, filament formulation, and the level of dimensional control required. The matrix below offers a practical starting point—not a universal final answer.
| Application Scenario | Core Engineering Challenge | Recommended Bed Temp | Governing Physical Principle |
| General Prototyping | Balance adhesion and dimensional accuracy | 60°C | A stable starting point near PLA’s glass transition range |
| Large, Flat Structural Parts | High cumulative thermal stress and corner lifting | 65–70°C | Keeps the base slightly more compliant so it can absorb stress |
| Small, High-Detail Components | Risk of base softening and dimensional spread | 50–55°C | Reduces excess heat and helps prevent elephant’s foot |
| High-Speed Printing (>150 mm/s) | Less time for first-layer bonding | ~65°C | Increases surface activity and improves mechanical interlocking |
These values should be verified on the actual printer, surface, and filament batch. A PLA part printed on glass at 60°C may behave differently from the same part printed on textured PEI at the same setting.
The Physics of the First Layer: A Thermal Stress Management System
The heated bed is not simply a comfort feature. It is the first thermal control system the print encounters. Its job is to keep the first layer stable long enough for the material to bond to the surface and resist the pulling forces created as upper layers cool.
Once you see the bed as a stress-control tool, many common PLA failures become easier to understand—and easier to fix.
The Critical State: Understanding Glass Transition Temperature (Tg)
The key concept behind PLA bed temperature is the glass transition temperature, often written as Tg. This is not the melting point. Instead, it is the temperature range where PLA changes from a rigid, glassy state into a softer, more rubber-like state.
For many PLA formulations, Tg sits roughly around 55–65°C. Below this range, the polymer chains are relatively locked in place. Above it, they can move more freely. That movement matters because the first layer needs to settle into the microscopic texture of the build plate and create a strong physical bond.
At the right temperature, PLA can grip the surface without becoming too soft. Too cold, and adhesion may be weak. Too hot, and the base of the print may deform under its own weight.
The Unseen War: How Thermal Contraction Creates Catastrophic Stress
Every PLA print shrinks as it cools. The shrinkage is not extreme compared with some other plastics, but it still creates stress—especially in large, flat, or sharp-cornered parts.
The problem comes from the temperature difference between the warmer first layers and the cooler upper layers. As the upper portion of the part contracts, it pulls inward. The base, meanwhile, is stuck to the bed. That tug-of-war concentrates stress at corners and edges. If internal stress becomes stronger than bed adhesion, the print lifts.
This is why warping is often worse on large flat parts than on small rounded parts. It is also why bed temperature, surface cleanliness, first-layer speed, and cooling fan timing all have to work together.
Variable Control: Precision Calibration for Your Equipment
The temperature shown in the slicer is only an input. The real question is what temperature the first layer actually experiences. That depends on the printer, build plate, room airflow, enclosure, filament, bed sensor accuracy, and surface condition.
A serious calibration process looks at the system as a whole, not just the number on the screen.
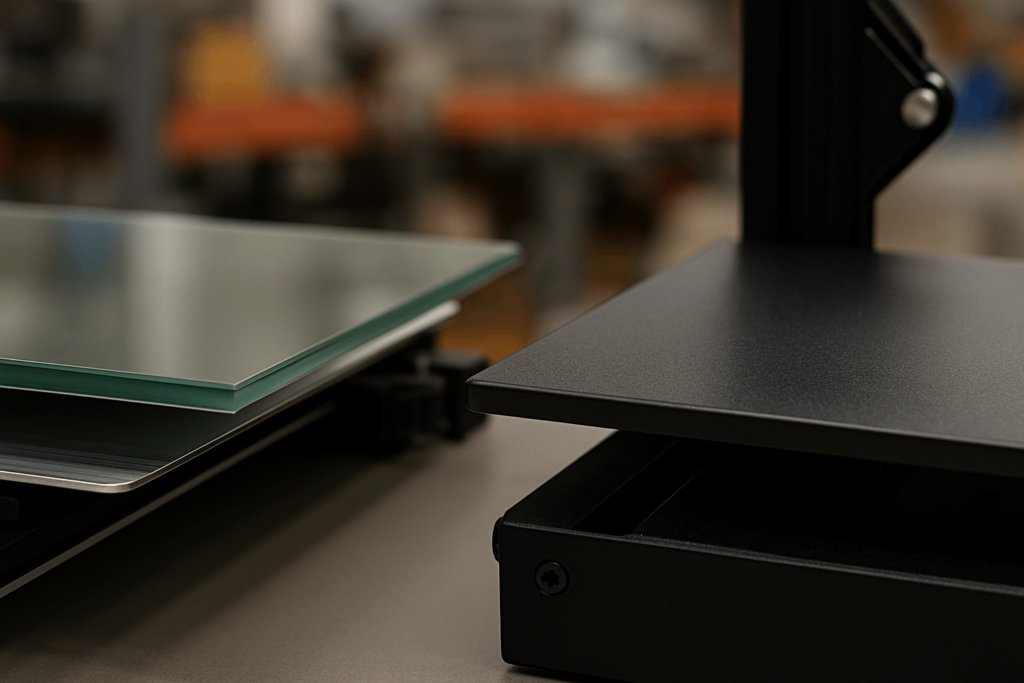
The Build Plate Interface: Glass vs. PEI Coated Steel
The build plate is part of the thermal system. Different surfaces behave differently, even at the same bed temperature.
Glass offers excellent flatness and a smooth underside finish. It heats slowly and tends to distribute heat evenly, which can reduce localized hot spots. However, it also has relatively low thermal conductivity compared with metal-backed surfaces. Drafts or poor room temperature control can make glass-bed adhesion inconsistent.
PEI-coated spring steel is widely used because it heats quickly, releases parts more conveniently after cooling, and often provides strong adhesion at slightly lower temperatures. A print that needs 65°C on glass may work at 55–60°C on PEI, depending on the filament and surface texture.
For repeatable work, build plate type should be treated as a controlled process variable, not an interchangeable accessory.
Material Consistency: A Process Control Variable
“PLA” is not one single material. Different brands use different additives, pigments, modifiers, and processing formulas. Even color can affect heat absorption and cooling behavior to a degree.
For casual printing, these differences may be minor. For engineering samples, fit-check parts, assembly fixtures, or repeated batches, they matter more. A new filament brand—or even a new batch—may need fresh calibration.
That is why production-oriented teams often document filament supplier, color, nozzle temperature, bed temperature, fan profile, print speed, and build surface together. Without that record, repeatability becomes guesswork.
Failure Mode Analysis: A Systematic Approach to Defects
Most PLA bed-temperature problems show up in two familiar ways: warping or elephant’s foot. They look different, but both come from the same underlying issue—an imbalance between heat, adhesion, material stiffness, and mechanical stress.
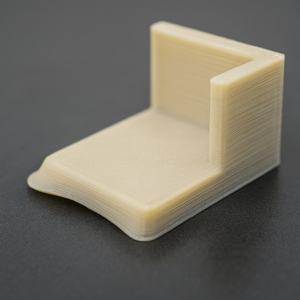
Failure Mode 1: Warping (Adhesive Force < Internal Stress)
Warping happens when the part’s internal contraction stress becomes stronger than the bed adhesion holding the first layer down. This often means the bed is too cool, the surface is contaminated, the first layer is poorly set, or the cooling fan is acting too early.
A practical correction sequence is:
- Clean the surface properly
Oils from hands are a common cause of weak adhesion. IPA can help, but warm water and dish soap are often more effective for removing oily residue from glass or PEI. - Check the Z-offset
If the nozzle is too high, the first layer will sit on top of the surface instead of pressing into it. If it is too low, the filament may smear or create other dimensional problems. - Increase bed temperature gradually
Raise the bed temperature in 5°C steps until adhesion improves. For large PLA parts, 65–70°C is often reasonable. - Use a brim when geometry demands it
Large flat parts and sharp corners benefit from extra surface area. A brim can provide mechanical anchoring without redesigning the whole part.
Failure Mode 2: Elephant’s Foot (Print Weight > Foundational Support)
Elephant’s foot appears as a bulge near the bottom of the part. It often happens when the bed is too hot, the first layer is over-compressed, or the lower layers remain too soft while the rest of the model builds above them.
A practical correction sequence is:
- Confirm the Z-offset first
A nozzle that is too close can force molten PLA outward and imitate or worsen elephant’s foot. - Lower the bed temperature in small steps
Reducing the bed by 5°C at a time helps the lower layers firm up sooner. - Use slicer compensation carefully
Many slicers offer initial-layer horizontal expansion or elephant’s-foot compensation. A small negative value can help restore the intended wall shape, especially on parts where bottom-edge accuracy matters. - Review first-layer flow and line width
Excessive flow can also widen the base. Bed temperature is not always the only cause.
Advanced Process Control: Mastering the First Layer
A reliable PLA process is built before the print fails. Instead of reacting to warping or deformation after the fact, engineering teams should calibrate temperature, speed, surface, cooling, and filament as a coordinated process.
Empirical Calibration: The Role of the Temperature Tower
A temperature tower helps identify how a specific PLA filament behaves across a range of nozzle temperatures. For bed temperature, a first-layer adhesion test or a set of flat calibration coupons may be even more useful.
The best calibration result is not always the prettiest surface. For functional parts, the goal is stable adhesion, clean geometry, and adequate layer strength. A part that looks smooth but separates easily is not a good engineering result.
For repeat orders or customer samples, calibration data should be recorded and reused. That is what turns printing from trial-and-error into a controlled process.
The Coordinated Process: Temperature, Speed, and Cooling
PLA bed temperature does not work alone. It must be coordinated with several slicer settings:
- Initial layer temperature
A slightly warmer first layer can improve bonding. After the base is established, the bed may be lowered to reduce softening. - Initial layer speed
A slower first layer, often around 20–30 mm/s, gives PLA more time to wet the surface and form a stable bond. - Cooling fan timing
Turning on the fan too early can create thermal shock. For many PLA prints, the fan should stay off or low for the first one to three layers. - First-layer height and flow
The first layer must be compressed enough to bond, but not so much that it spreads and creates dimensional error.
When these settings work together, the bed temperature no longer has to compensate for every other problem.
Common PLA Bed Temp Issues & Solutions for Engineering Buyers
Below are common PLA bed temperature issues and practical responses for engineering teams and buyers evaluating prototype quality.
- PLA warping on a glass bed
Clean the bed with dish soap and warm water, verify Z-offset, raise bed temperature in 5°C steps, and use a brim for large flat parts. - Best PLA bed temperature for large prints
Start around 65°C and adjust toward 70°C if corner lifting continues. Use slower first-layer speed and avoid drafts. - How to prevent elephant’s foot in PLA
Lower the bed temperature to around 50–55°C, correct Z-offset, reduce first-layer flow if needed, and use slicer compensation carefully. - High-speed PLA printing settings
A bed temperature around 60–65°C often helps maintain adhesion when bonding time is reduced. Keep fan speed low during the first layers. - PLA first layer not sticking to PEI
Wash the surface, recalibrate Z-offset, avoid touching the plate with bare fingers, and make sure the bed reaches real temperature before printing.
Frequently Asked Questions (FAQ)
Q1: Is a heated bed required for PLA?
Small PLA prints can sometimes succeed on an unheated bed, but a heated bed greatly improves consistency. For engineering samples or larger parts, it is strongly recommended.
Q2: What is the best PLA bed temperature?
For many printers, 60°C is a good starting point. Small detailed parts may work better at 50–55°C, while large flat parts may need 65–70°C.
Q3: Why is my PLA still warping at 70°C?
Temperature may not be the only problem. Check surface cleanliness, Z-offset, first-layer speed, cooling fan timing, room drafts, and whether the part needs a brim.
Q4: Why do PLA prints stick too strongly to PEI or glass?
The Z-offset may be too low, the bed may be too hot, or the part may need to cool fully before removal. For PEI, flexing the spring steel plate after cooling usually helps release the part.
Q5: Does an enclosure help PLA printing?
Yes, but mainly by blocking drafts and stabilizing the environment. PLA usually does not need a hot chamber. Too much enclosed heat can soften the print and reduce dimensional accuracy.
Q6: What should buyers look for in a PLA printing supplier?
Look for process documentation, calibrated bed surfaces, batch-level material control, first-layer repeatability, dimensional inspection, and a clear troubleshooting method for warping, elephant’s foot, and tolerance drift.
Conclusion: Elevating Temperature Control from Guesswork to Engineering
PLA bed temperature is not a single magic number. It is part of a thermal control system that includes filament formulation, build plate surface, Z-offset, first-layer speed, fan timing, part geometry, and the surrounding environment.
For engineering work, the goal is not just to make the part stick. The goal is to make it stick consistently, print accurately, release safely, and repeat reliably across samples or small batches.
At Yishang Metal Products Co., Ltd., we support OEM and wholesale customers with custom metal fabrication, prototyping support, and engineering review for enclosures, racks, brackets, display structures, cabinets, housings, and industrial components. With 26+ years of manufacturing experience, we support processes including laser cutting, bending, stamping, welding, CNC machining, surface treatment, assembly, inspection, packaging, and shipment.
📩 If your project involves prototype validation, fixture development, or custom metal parts that require dimensional reliability from early samples to batch production, send us your drawings or requirements for a practical engineering review.