
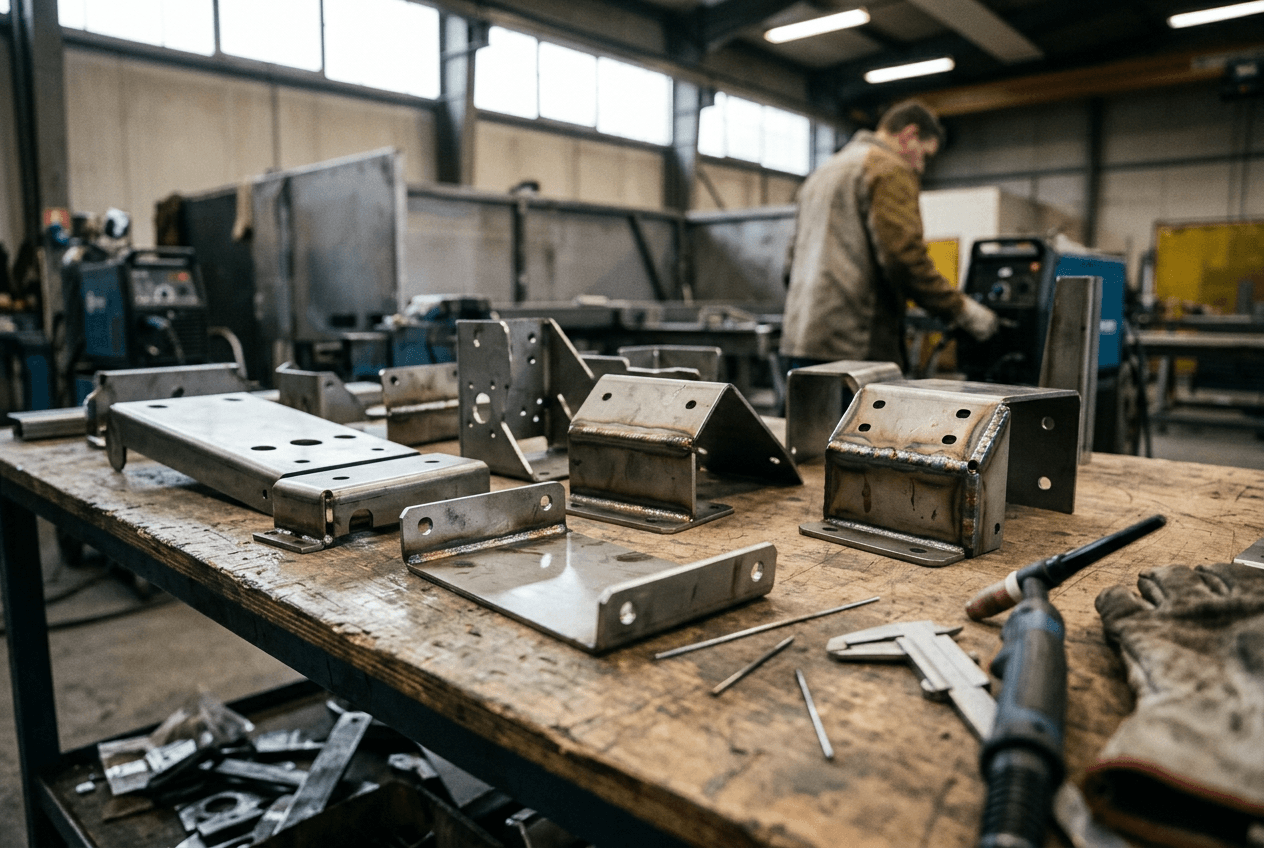
An OEM buyer sends a drawing for a powder-coated enclosure with welded corners, internal brackets, and a few visible edges. The RFQ note says, “TIG welding required on all joints.” Three suppliers respond with three different prices. One assumes full TIG, polishing, and slower cycle time. Another prices TIG only on visible seams and MIG on hidden joints. A third stops quoting and asks for clarification.
That spread does not always mean one supplier is expensive. It usually means the RFQ gave each supplier room to build a different fabrication route. The real risk in tig welding vs mig is not choosing the wrong arc process in theory. It is using one blanket instruction where the project really needs weld zones, finish expectations, and assembly-critical dimensions.
For custom sheet metal fabrication, that mistake can distort a quote before production starts. It can also create rework once samples move into batch builds. The result is familiar: a low quote that leaves out cleanup, or a high quote that prices TIG labor into every hidden seam. Buyers then compare numbers that do not describe the same part.
How one welding line in the RFQ creates three different quote assumptions
The problem starts when an RFQ names a welding process but does not explain why that process matters. “TIG all joints” sounds precise. In practice, it is still vague if the drawing does not separate cosmetic seams from structural seams. Suppliers then fill the gap with their own assumptions. One may protect appearance by pricing TIG everywhere. Another may use MIG where the weld will be hidden after assembly. A third may pause the quote and ask for a weld map.
That is where procurement risk begins. A buyer thinks the request is simple. The fabricator sees several possible interpretations. If the enclosure will be powder coated, the supplier also has to decide whether weld beads can stay visible, whether spatter must be removed, and whether any seams need grinding before coating. Without those details, the quote often includes a safety margin. The margin shows up as higher pricing, slower response time, or both.
TIG and MIG are not competing labels. They solve different production problems. TIG gives the operator better control on thin sheet, visible corners, and neat cosmetic joints. MIG is faster on longer seams, internal brackets, and thicker frames. Neither process is automatically better. The buyer needs to tell the supplier which joints are exposed, which are hidden, and which affect fit after welding.
A practical example is a control cabinet with front-facing corners and rear reinforcement tabs. The front corners may need careful bead control because the customer sees them after installation. The rear tabs may only need secure attachment. If the RFQ says TIG on every weld, the cabinet may become more expensive than needed. If the RFQ says MIG on every weld, the front corners may need extra cleanup and still show irregularities under paint.
When the RFQ lacks boundaries, every supplier protects itself differently. That is why the buyer should define weld zones, not just a process name. Once that happens, quote comparison becomes easier. More importantly, the supplier can price the real work instead of guessing at it.
Why cleanup, distortion, and finish prep often cost more than arc time
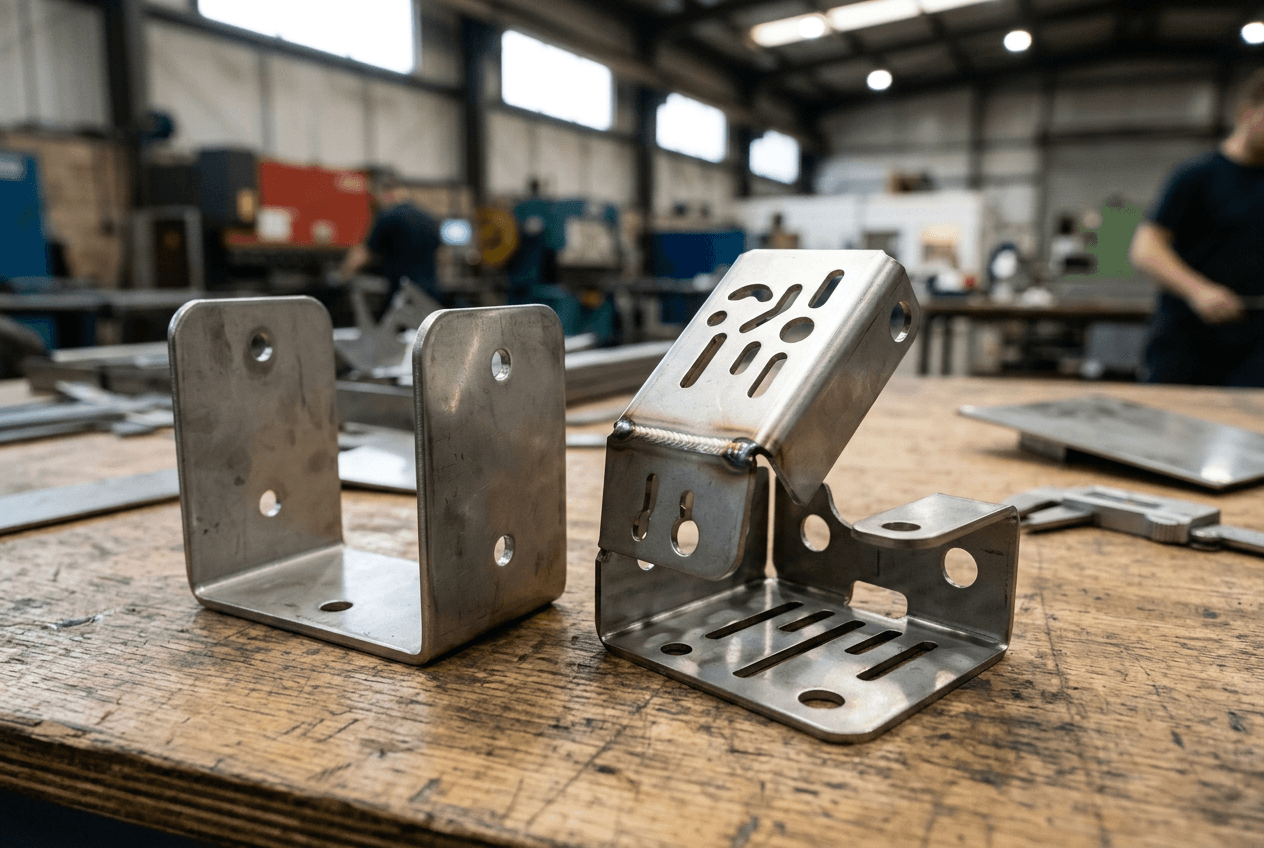
Many buyers compare TIG welding vs MIG by asking which process is faster. That is useful, but incomplete. The arc time is only one part of the total cost. Cleanup, grinding, polishing, straightening, and coating prep often matter more. A faster weld can become a slower part if it creates spatter or heat distortion near a visible panel.
For example, MIG may be the efficient choice for a welded frame or bracket set. The welds are longer, access is open, and the cosmetic requirement is modest. That looks cost-effective until the frame also carries a customer-facing panel. If the weld area needs masking or spatter removal before powder coating, the labor savings shrink. The supplier may also need to recheck squareness after welding, which adds another step.
TIG can reduce visible spatter and give the welder more control on thin material. That makes it attractive for small stainless housings, electronics enclosures, and exposed seams. Yet TIG is not free quality. It usually takes more skill and more time. If the RFQ asks for TIG on hidden internal brackets, the buyer pays for control that does not improve the final product.
The consequence chain is predictable. Ambiguous finish requirements lead to broad assumptions. Broad assumptions increase quote spread. During production, the same ambiguity can create friction around grinding, coating touch-up, and visual acceptance. The part may still function, but the buyer has already paid for a process that did not match the real need.
A better request defines finish sensitivity before the quote goes out. If welds will be visible after installation, say so. If they will sit under powder coat, say whether beads may remain visible or must be dressed smooth. If the part is brushed stainless, define the direction and acceptable discoloration. If the weld sits inside the assembly, state that appearance is secondary to fit and strength. These instructions help the fabricator choose between TIG and MIG without guessing.
What finish-sensitive parts usually need in the RFQ
Finish-sensitive parts need more than a process label. They need a clear callout for visible surfaces, required weld dressing, and coating expectations. A sheet metal enclosure with front corners, for instance, may need TIG on outer seams and MIG on inner supports. A retail display rack may accept visible structural beads in hidden zones but not on the front face. The more the buyer separates those requirements, the less likely the supplier is to price unnecessary labor.
Where TIG vs MIG starts to affect assembly fit after welding
The welding process also affects what happens after the part leaves the welding table. Heat changes geometry. Thin panels can pull out of square. Mounting holes can shift. Door gaps can close on one side and open on another. A welded frame can twist enough to create trouble during final assembly, even when every laser-cut and bent component was correct before welding.
This is why a prototype can look fine and still hide a batch problem. A sample is often built with extra attention. The welder may use more TIG control, more hand correction, and more time on each joint. Production may not repeat that exact route. If the batch quote silently shifts some joints to MIG, the heat pattern changes. The fixture load changes too. So does the cleanup work.
One project-style example is a machine guard frame with hinge brackets and latch tabs. The prototype may fit because the welder manually nudges the brackets after tacking. In production, if the weld sequence changes, the hinge line can move. The guard still looks acceptable after coating, but the door no longer closes cleanly on the machine. The buyer then faces assembly delay, not a weld defect in the narrow sense.
Another example is a small electronics enclosure with PEM hardware, corner welds, and a removable cover. The sample may pass because TIG gives a neat external corner and slow heat input. Batch production may switch some internal joints to MIG for efficiency. If the fixture does not control distortion, the cover fit can drift. A gasket line can also become uneven. That is a procurement problem, not just a fabrication issue.
Buyers should therefore compare the prototype route with the batch route. If the sample used TIG on every visible seam, ask whether the same method will repeat in production. If not, ask which joints change and why. The point is not to freeze every process forever. The point is to make the production assumption visible before the first approved sample becomes the basis for a larger order.
What to lock before sample approval
Lock the weld map, the fixture approach, and the post-weld inspection points. Frame diagonals, hole-to-hole positions, door gaps, bracket perpendicularity, and flatness after welding matter more than a vague promise of “better weld quality.” If the part will be powder coated, confirm whether the coating step comes before or after any final adjustment. If assembly fit depends on welded studs or captive nuts, measure those locations after welding, not only before it.
How to write a weld map that suppliers can quote without guessing
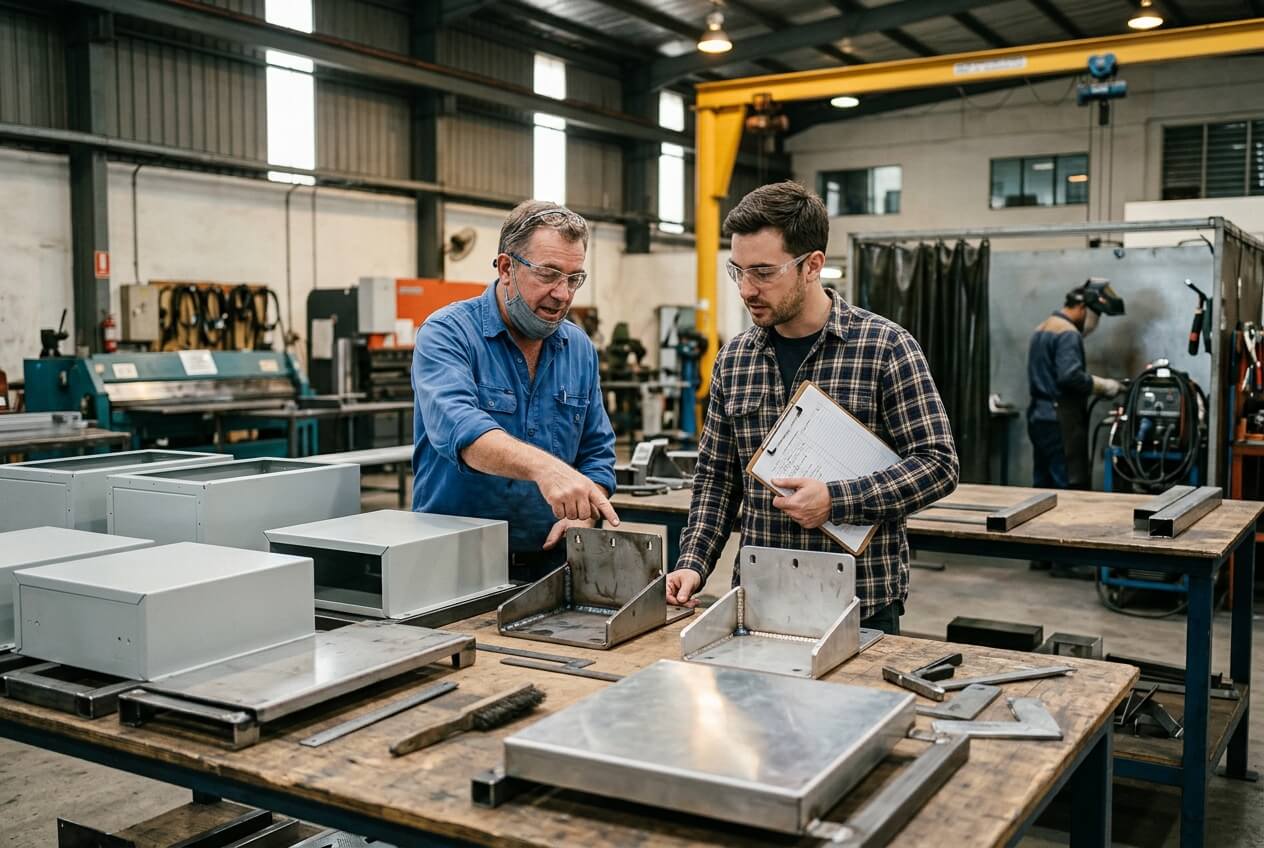
Good RFQs do not need long explanations. They need practical instructions. The strongest approach is to identify which welds are cosmetic, which are structural, and which are hidden. That lets the supplier assign TIG where appearance matters and MIG where speed and access matter more. It also reduces the chance that one broad instruction forces every joint into the same cost bucket.
For example, an RFQ for a welded cabinet can say: exterior seams are cosmetic and must support a smooth powder-coated finish; internal reinforcement tabs are non-cosmetic; load-bearing frame joints require weld size per drawing; any welds near gasket faces must control distortion. That level of detail does two things. It helps the supplier price the part correctly, and it protects the buyer from later arguments about what the quote included.
Yishang often reviews this kind of drawing package for custom sheet metal fabrication. The useful conversation is not “TIG or MIG?” by itself. It is “which welds need the slower process, which welds can use the faster process, and which dimensions must still hold after welding and finishing?” That is the level of clarity that makes quotes comparable.
A second project-style example is a welded bracket set for industrial equipment. The brackets may carry load, but only two faces are visible after installation. The hidden faces can often use MIG if the weld size, strength, and distortion stay within the drawing intent. The visible faces may need TIG or a low-spatter route if the buyer wants a cleaner appearance before coating. Without that split, the RFQ either overstates the process everywhere or understates the finishing work.
When buyers write the weld map this way, they also get better supplier communication. The fabricator can ask sharper questions. It can point out joints that are hard to access, suggest fixture changes, or flag cases where TIG on a thin edge risks burn-through. That feedback is valuable because it arrives before pricing, not after rework.
What to compare before you approve the lowest quote
The lowest price is only useful if it includes the same assumptions as the other quotes. If one supplier priced full TIG, another priced mixed TIG and MIG, and a third left out finish cleanup, those quotes are not directly comparable. A buyer should first compare the process assumptions, then compare the unit price. That order matters more than many teams realize.
Start by checking whether the quote separates visible seams from hidden joints. Next, check whether weld dressing, spatter removal, and surface prep are included. Then confirm whether the supplier is pricing the prototype route or the batch route. If the sample used more manual polishing than production will allow, the buyer needs that difference written down. Otherwise the batch price can rise later, or the batch part can lose cosmetic quality.
It also helps to compare the risk of rework. A quote that looks cheap may assume MIG on a finish-sensitive enclosure and leave the buyer to pay for extra cleanup later. A quote that looks high may include TIG on hidden joints that do not improve function. The right answer is usually somewhere in the middle, with process choice tied to the part geometry and the end-use environment.
Before release, freeze the material specification, quantity, tolerances, finish expectations, and key fit dimensions. Then attach photos or marked-up drawings if the weld appearance matters. That gives the supplier enough information to quote the real job. If the project needs drawing review, prototyping, or weld-zone clarification, a manufacturer such as Yishang can help separate cosmetic welds from structural ones before the order is placed.
Practical CTA: If your RFQ only says “TIG welding” or “MIG welding,” send your drawings, material requirements, quantities, tolerances, and finish expectations to Yishang for review before you compare prices. The goal is to make the weld map clear enough that the quote reflects the actual fabrication risk.
Frequently Asked Questions
Is TIG always better than MIG for sheet metal fabrication?
No. TIG gives more control on thin or visible joints, but it is slower and usually more expensive. MIG often makes more sense for internal brackets, frames, and longer seams when appearance is less critical. The better choice depends on weld visibility, distortion risk, access, and the finish standard.
Why do TIG welding vs MIG quotes vary so much for the same enclosure?
The quotes often include different assumptions. One supplier may price TIG everywhere, another may use MIG on hidden joints, and a third may include more cleanup or fixturing. If the RFQ does not separate cosmetic welds from structural ones, the suppliers are not quoting the same work.
What should buyers mark on the drawing before requesting welded parts?
Mark which seams are visible, which are hidden, which are load-bearing, and which must stay flat for assembly. Also note whether welds need to be ground smooth, whether spatter is acceptable, and what dimensions matter after welding and finishing. That information helps the supplier quote accurately.
Can a TIG prototype still lead to MIG production?
Yes, but only if the difference is documented. A prototype may use extra TIG control and manual correction. Production can use a mixed process if the fixture plan, distortion control, and inspection points are updated. Without that record, the batch part may drift in fit or appearance.
What is the biggest risk when comparing supplier prices for welded sheet metal parts?
The biggest risk is comparing quotes that use different process assumptions. A low quote may exclude cleanup, while a higher quote may price cosmetic TIG on hidden joints. Buyers should compare weld zones, finish prep, assembly fit requirements, and prototype-to-batch consistency before judging price alone.