Why Datums Matter in Global Metal Sourcing
In custom metal fabrication, few concepts are as important yet overlooked as datums. For procurement teams, especially those sourcing from overseas, understanding how suppliers define and control datums can directly affect the quality, consistency, and alignment of every part delivered.
Whether you’re managing thousands of units per order or building long-term vendor partnerships, a clear datum strategy minimizes variation, simplifies inspection, and ensures reliable fit across batches. This guide by YISHANG, a precision-focused manufacturer with decades of experience in wholesale metal production, explores how datums work and why they should matter to you.
What Is a Datum in Metal Fabrication?
A datum is a theoretical reference point, line, or plane that acts as the starting framework for measuring and manufacturing a part. In practice, it’s how suppliers ensure that every hole, bend, and bracket aligns correctly, not just in one unit—but across thousands.
Unlike random measurement points, datums are chosen based on functional surfaces—those that influence assembly, mounting, or product use. A flat base, a hole center, or a side flange might serve as reference features to establish the datum.
It’s critical to distinguish between a datum and a datum feature. The datum is theoretical, while the feature (like a machined edge or punch hole) is the physical surface that defines it. This matters in fabrication because even slight imperfections in real-world parts still need to be measured against ideal geometry.
For wholesale buyers, particularly those sourcing for high-volume or export-oriented projects, ensuring that a supplier follows a clear datum structure means fewer surprises during inspection, reduced return rates, and stronger long-term product integrity.
Functional Types of Datums and Their Purpose
In global production, datums are more than symbols—they’re the backbone of accurate mass fabrication. Here’s how they function across part constraints.

Primary, Secondary, and Tertiary Datums
These three references form the Datum Reference Frame (DRF), which locks a part in six degrees of freedom:
Primary datum: The main contact plane (often the base), locking 3 movements
Secondary datum: Perpendicular to the primary, locks 2 more axes
Tertiary datum: Final point or feature that locks 1 rotational movement
For example, a laser-cut equipment housing may use its flat base as the primary datum, a bent flange as secondary, and a punch hole as tertiary to ensure every enclosure lines up precisely during assembly.
This hierarchy is essential for components that must interlock, stack, or mount reliably. For B2B buyers sourcing fabricated enclosures, racks, or cabinets, checking how suppliers define DRFs is a direct quality control step.
Axis, Plane, and Center-Plane Datums
Depending on part design, datums can be derived from:
Axes: Used in holes, pipes, and cylindrical frames
Planes: Ideal for flat sheet metal or mounting bases
Center planes: Useful for symmetrical parts like folded housings or mirrored brackets
When assessing technical drawings, look for logical datum placements that reflect how the product will function or be assembled—not just the easiest surface to measure.
Datum Targets for Irregular or Flexible Parts
Not all parts have ideal datum surfaces. For warped panels, castings, or large welded assemblies, suppliers often use datum targets—specific points or zones that simulate a reference.
This method is especially valuable in high-precision sheet metal fabrication, where thermal distortion or tooling stretch is inevitable. A defined datum target strategy ensures that inspection remains consistent regardless of part shape or complexity.
For example, a vending machine frame with large surface areas may have three machined pads serve as datum targets, anchoring inspection to reliable points.
How Datums Impact Production from CAD to QA
Datums aren’t theoretical—they’re applied in every production step. As a buyer, understanding this flow helps you better vet suppliers, spot inconsistencies, and reduce risk.
In Design: Establishing Control in CAD
Engineers embed datum references into CAD models to lock part geometry into a controllable framework. Tools like SolidWorks or AutoCAD use Datum Reference Frames to position tolerances, drive feature control, and guide downstream fabrication.
A reliable design always uses datum placement based on function, not just ease of drafting. For instance, choosing a hole that mates with another assembly as the primary datum avoids misalignment in final use.
When reviewing technical drawings, buyers should check that datums support real-world functionality—does the design reflect how the part will be assembled or measured in production?
This is part of mastering how to define datums in sheet metal projects and ensuring datum reference frame in fabrication aligns with mass production goals.
In Fabrication: Ensuring Repeatability at Scale
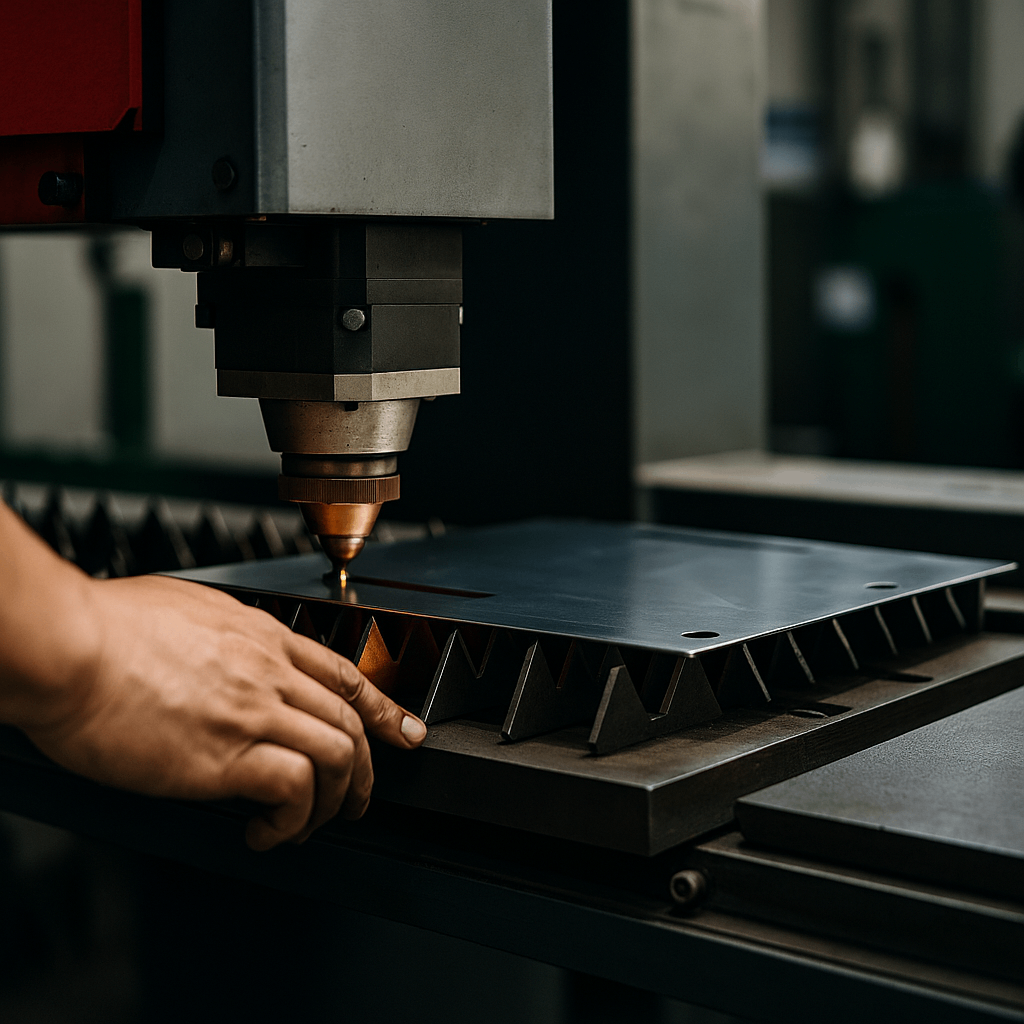
In laser cutting, CNC bending, or welding, datums guide fixturing. They tell the machine or jig where “zero” is. When these references are off—or inconsistently applied—parts may meet dimensional specs but fail to fit together.
Well-chosen datums streamline:
Bending sequence
Welding alignment
Hole positioning
For mass orders, this equates to measurable benefits: faster assembly, fewer defects, and improved throughput. It also lowers the cost per unit, making your total landed cost more competitive.

Why Datums Directly Impact QA and Order Consistency
In high-volume production, quality assurance depends not just on measurement—but on repeatable, traceable, and reportable verification.
Datums make this possible.
From Measurement to Traceability
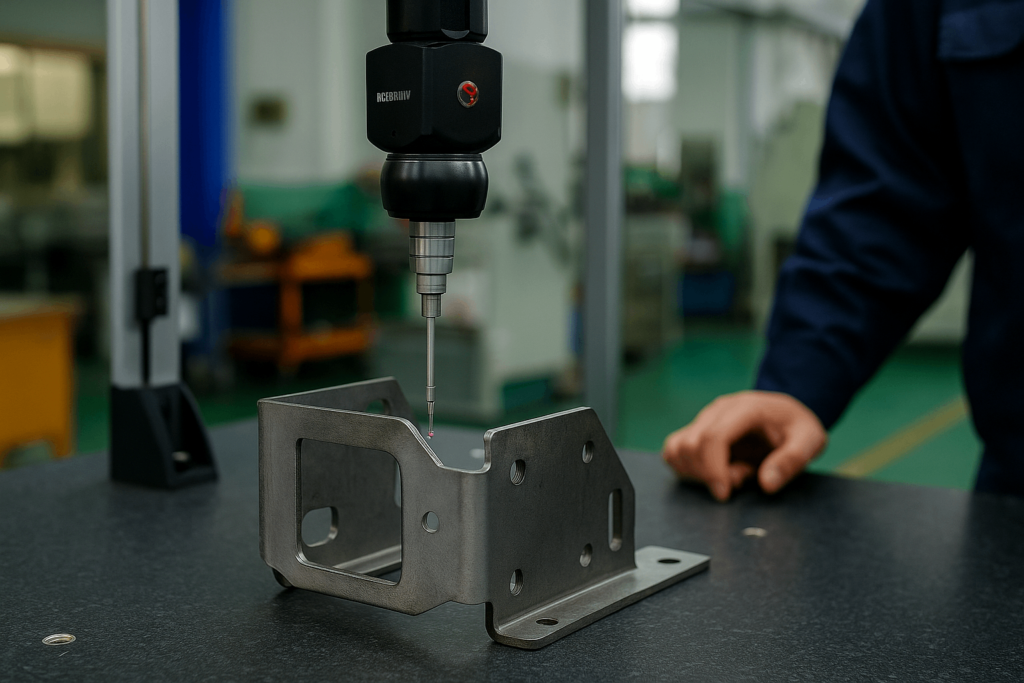
By aligning quality control systems—especially coordinate measuring machines (CMMs)—with standardized DRFs, suppliers create a repeatable inspection path that enhances traceability.
This ensures that if a defect is detected downstream, it can be accurately traced back to a fixture, setup, or process deviation rather than operator judgment. These are the cornerstone principles behind coordinate measuring machine QA steps.
Cross-Batch Consistency and Third-Party Validation
For overseas procurement teams working with third-party inspectors, consistent datums allow every part, in every batch, to be checked against the same standards—regardless of inspector, location, or production date.
This supports quality assurance in CNC bending and welded fabrication projects, where dimension consistency affects final assembly.
Moreover, it strengthens supplier transparency and accountability during FAT (Factory Acceptance Testing), PPAP processes, or dispute resolution, giving procurement teams greater control.

Practical Application: When to Ask About Datums
For procurement professionals, datum structure shouldn’t just be a manufacturing topic—it’s a due diligence factor.
Ask about datums when:
Reviewing technical drawings for RFQs
Evaluating quality inspection processes
Analyzing rejected samples or customer returns
Comparing multiple suppliers’ QA documentation
If a supplier cannot clearly explain their datum strategy—or if DRF logic is missing from production drawings—it’s a red flag. Especially in complex assemblies or enclosures, robust datum control reduces rework, inspection time, and alignment errors.
Adding a clause in your RFQ to require full DRF documentation or sample part measurement sheets tied to datums can significantly boost batch reliability.
Build Quality from the First Reference
Datums are more than technical jargon—they’re foundational to every fabricated part that aligns, mounts, stacks, or joins something else. In global sourcing, they’re your first layer of quality assurance.
Understanding how your suppliers use datums—and requiring transparency in how they apply them—helps you reduce risk, improve consistency, and increase customer satisfaction downstream.
Looking to verify how your drawings apply datum strategy? The YISHANG team is available to help review part references, DRF setups, and manufacturing feasibility to support your next project.

