When a 0.05 mm Error Becomes a Big Problem
In high‑volume metal manufacturing, precision is the foundation of trust between buyer and supplier. Imagine a shipment of custom stainless steel frames headed to a European OEM. All parts pass initial inspection—until final assembly, when fasteners spin freely because a series of holes is 0.05 mm oversized. The fix is costly: field rework, line downtime, emergency shipments, and damaged trust. That tiny deviation becomes more expensive than the entire lot.
Reaming—controlled finishing of a drilled hole to an exact size and surface quality—prevents those failures. In metal fabrication, reaming turns “close enough” into in‑tolerance and assembly‑ready. For wholesale buyers managing deadlines, quality risk, and landed cost, reaming is a safeguard. It reduces dimensional scatter, improves surface finish, and standardizes the fit that downstream teams depend on. In short, reaming is how you convert purchased parts into predictable assemblies at scale.
From a sourcing perspective, the advantage is measurable. Reamed features narrow the bandwidth of dimensional results, meaning fewer inspection holds, fewer corrective actions, and faster throughput at incoming QC. That is why precision reaming for export metal parts shows up repeatedly in high‑performing supplier control plans.
Understanding Reaming in Metal Fabrication
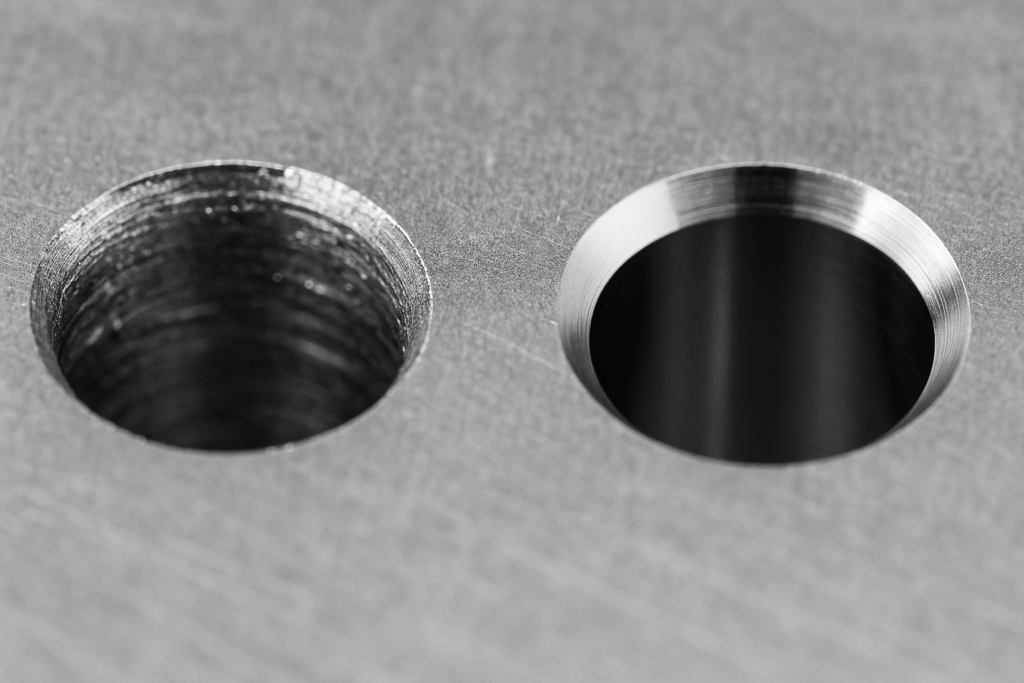
Definition. Reaming is a finishing process that removes a very small amount of material from a pre‑drilled or cast hole to perfect its diameter, roundness, cylindricity, and surface finish. Drilling creates the opening; reaming perfects it. The cut is light, controlled, and aimed at consistency rather than bulk removal.
Where it matters. In sheet metal cabinets, machine frames, precision brackets, custom metal enclosures, and display structures, the difference between a drilled hole and a reamed hole shows up as torque stability, alignment reliability, and reduced wear over time. Reamed holes seat fasteners consistently and locate dowel pins without forcing. That protects coating integrity, prevents fretting, and avoids “field fixes.”
Material scope. Reaming is widely effective in stainless steel (304/316), low‑carbon steel, galvanized steel, aluminum alloys (e.g., 5052/6061), red copper, and brass. Each alloy behaves differently: stainless tends to work‑harden; aluminum can gall; brass cuts cleanly but benefits from sharp geometry. A high‑tolerance CNC reaming service accounts for those behaviors with tooling, coolant, and fixturing choices specific to the alloy and thickness.
What buyers gain. Reduced dimensional risk at batch scale, higher rate of first‑pass yield, and more predictable assembly time. For programs that rely on CNC hole finishing for metal cabinets or custom enclosure reaming, the process is not optional—it’s the most economical path to fit consistency.

Where Reaming Fits in the CNC Workflow
A modern machining flow positions reaming after drilling and before inspection. The practical sequence is straightforward:
Pre‑drill undersize. Holes are drilled slightly smaller than nominal to leave stock for the reamer.
Verify geometry. The pre‑hole’s position, roundness, and burr condition are checked.
Ream to spec. A reamer removes a thin skin to reach final size, refine roundness, and improve surface finish.
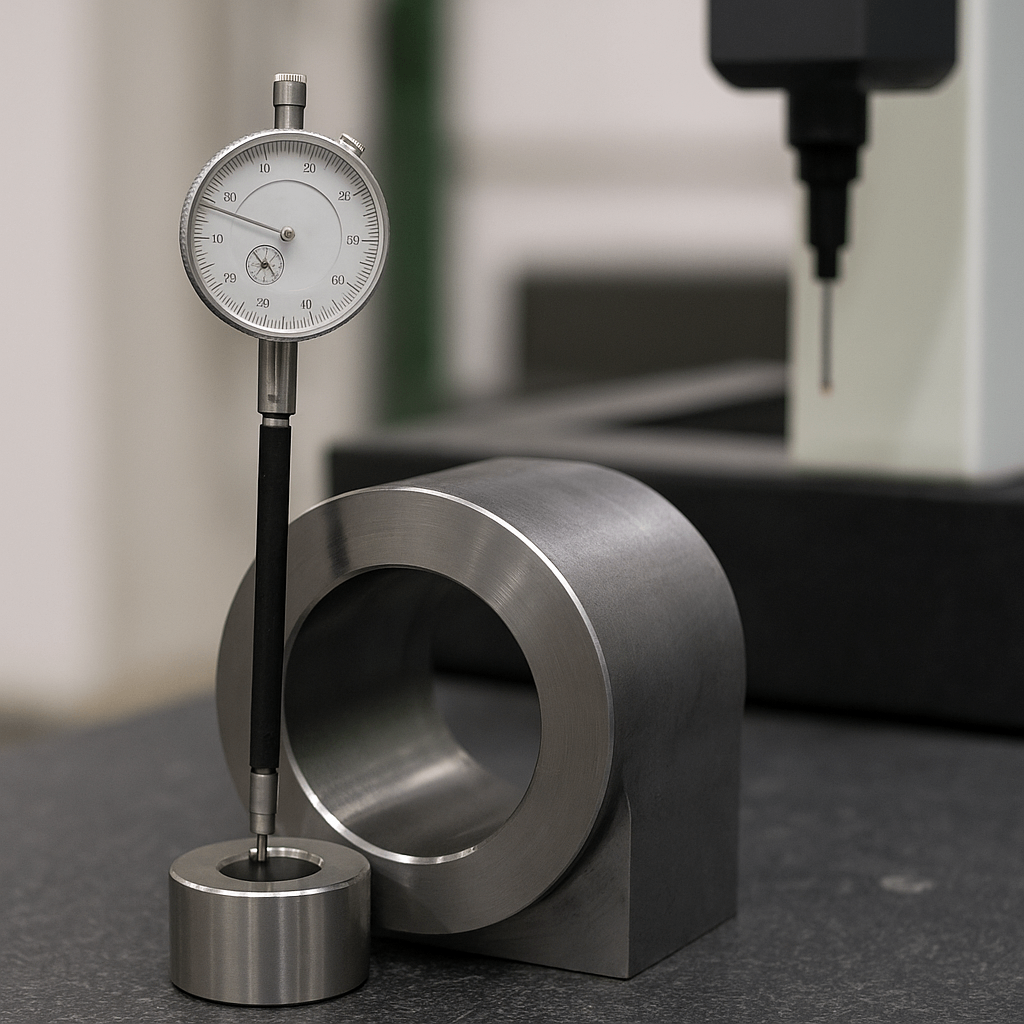
Inspect. Bore gauges confirm diameter; CMM checks position/true location on patterns.
This ordering eliminates drilling‑induced variability—tool wear, heat, chip packing—before parts leave the machine. For procurement teams, the impact is practical: tighter clustering of results, simpler inspection plans, and fewer surprises in assembly. If your line depends on bulk order reamed components, the workflow above is what keeps takt time predictable.
For H7‑class holes, reaming is often the fastest and most economical finishing method when drilling accuracy and fixturing are controlled.
Four Factors That Define Reaming Quality
Machine Stability & Fixturing
Reaming is intolerant of vibration. Any movement shows up as chatter marks, bell‑mouthing, taper, or oversize. Rigid nests that support the zone around the hole, stable spindles, and balanced tooling are non‑negotiable. Thin sheet benefits from backup plates or contoured nests to reduce flex. On tubular or frame parts, multi‑point clamping prevents twist that can distort hole geometry.
Tool Design & Material
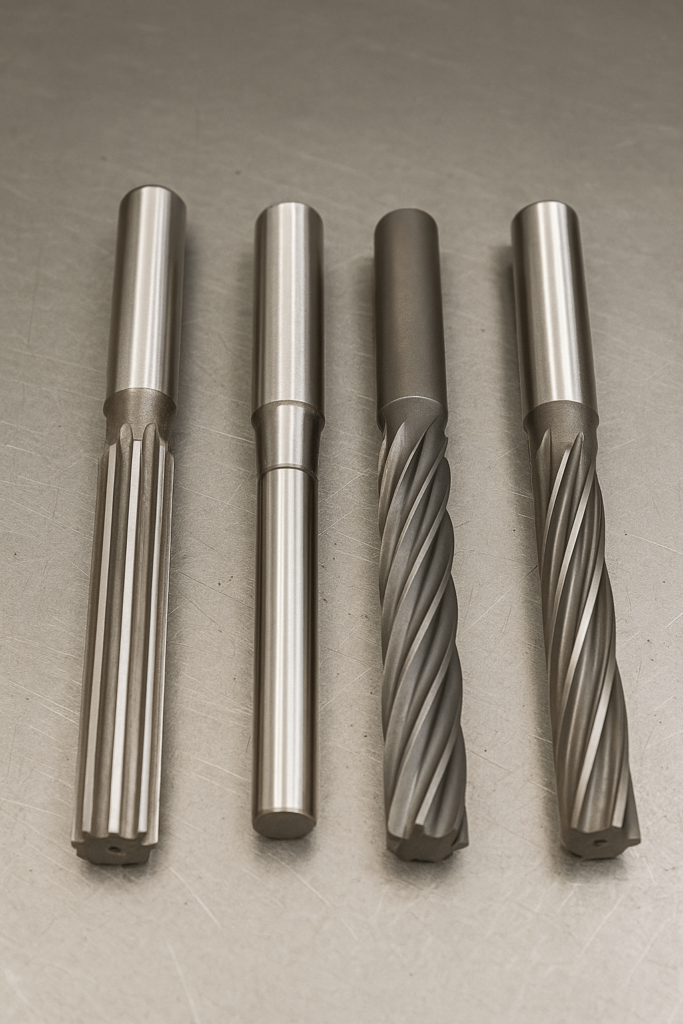
Straight‑fluted reamers guide well in through holes; spiral‑fluted reamers clear chips better in blind holes and tougher alloys. HSS is forgiving and economical for mild steels; carbide brings stiffness and wear resistance for stainless and long runs; coatings (TiN, TiCN, TiAlN) manage heat and galling. Shell reamers are efficient for larger diameters; expansion reamers can be tuned to compensate for wear in long campaigns. Selecting the right geometry is the simplest way to avoid surface defects and premature wear.
Cutting Fluid & Temperature Control
Lubrication is a quality lever. Stainless steel benefits from high‑pressure delivery to avoid work‑hardening; aluminum demands high lubricity to prevent built‑up edge and galling; brass cuts cleanly with modest flow. Coolant concentration, flow, and temperature stability directly influence surface finish and dimensional scatter. Inconsistent coolant equals inconsistent holes.
Pre‑hole Accuracy & Allowance
Reaming cannot fix a poor pre‑hole. If the drilled hole is off‑location, out‑of‑round, or too large, a reamer will inherit that error. A reliable rule of thumb is to leave 2–4% of the final diameter as reaming stock (e.g., 0.20–0.40 mm for a ⌀10 mm hole), adjusted by alloy, wall thickness, and tool geometry. Too little stock leads to rubbing and heat; too much stock turns reaming into light drilling and invites chatter.
Table 1 — Recommended Reaming Parameters (Guideline)
| Workpiece Material | Reamer Type | Surface Speed (m/min) | Feed (mm/rev) | Typical Allowance (mm) |
|---|---|---|---|---|
| Low‑carbon steel | HSS | 6–10 | 0.15–0.30 | 0.20–0.30 |
| Stainless steel | Carbide, coated | 30–45 | 0.10–0.20 | 0.20–0.30 |
| Aluminum alloys | HSS/Carbide | 60–80 | 0.25–0.40 | 0.15–0.25 |
| Brass/Copper | HSS (straight flute) | 40–60 | 0.20–0.35 | 0.10–0.20 |
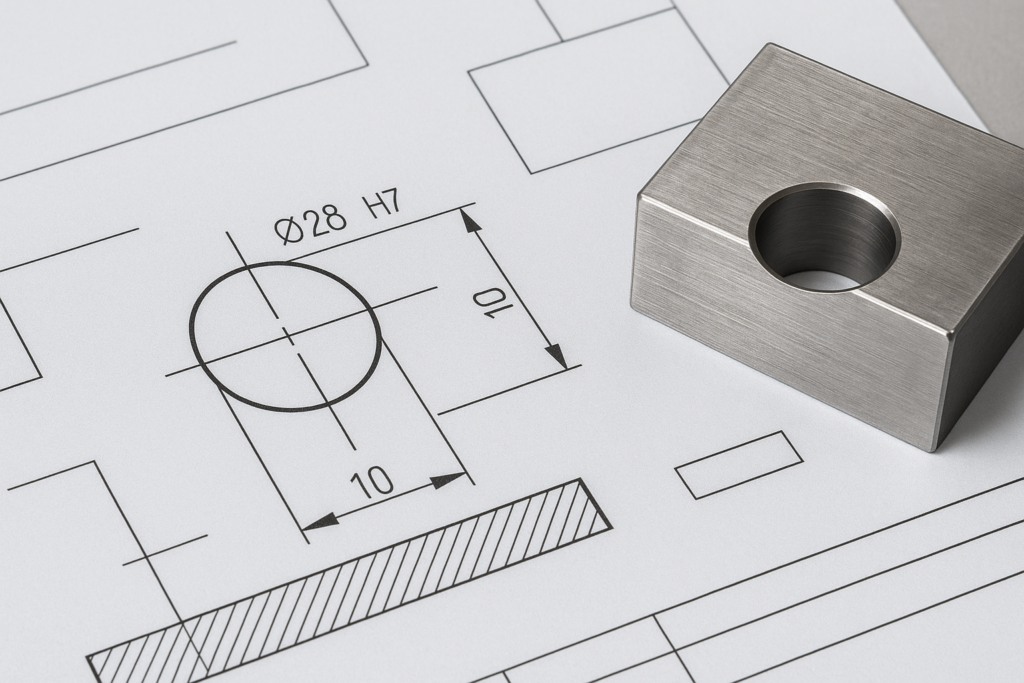
Standards & fits. For hole fits, ISO 286‑2 is the common reference. As a practical anchor, a ⌀10–18 mm H7 hole typically carries a tolerance band near +0 / +0.021 mm; pairing with h6 shafts yields repeatable location fits. Use ASME Y14.5 GD&T to control true position and perpendicularity on hole patterns.

How to Specify Reaming in RFQs (Buyer Checklist)
Clear RFQs shorten quote cycles and protect delivery dates. The fastest path to accurate quotations and frictionless production is an RFQ that makes the finishing intent unambiguous: specify pre‑drilled + reamed, define the tolerance class, and state the inspection method and sampling plan. This is where buyers capture the value of an OEM sheet metal hole finishing partner.
Table 2 — RFQ/Drawing Checklist
| Item | Example Specification | Why It Matters |
| Final Diameter + Tolerance | ⌀10.00 H7 (⌀10.000 +0/ +0.021 mm) | Sets the quality target |
| Positional Tolerance | ⌀0.10 at MMC to datums A‑B‑C | Controls pattern alignment |
| Surface Roughness | Ra ≤ 1.6 µm (reamed) | Predictable torque and sealing |
| Chamfer/Deburr | 0.2×45° max, burr‑free both sides | Fit, safety, coating integrity |
| Material & Temper | 304 SS, 2B finish (or DC01, 6061‑T6, etc.) | Affects allowance/tool choice |
| Pre‑drill Allowance | Leave 0.25 mm stock before reaming | Prevents rubbing/oversize |
| Inspection Method | Bore gage 100% (critical); CMM sampling for position | Aligns QA plan with risk |
| Sampling Plan | AQL 0.65 (critical), 1.0 (major), 2.5 (minor) | Calibrates acceptance risk |
| Lot Size / Batch Split | 2k pcs per lot, split into 4 sub‑lots | Stabilizes SPC and logistics |
| Packaging/Protection | Protective plugs in holes; VCI wrap for steel | Preserves tolerances in transit |
A drawing that anticipates these points eliminates back‑and‑forth, avoids interpretation errors, and ultimately protects lead time.

Making Reaming Repeatable in Production
Repeatability comes from systems, not heroics. Process engineers first confirm the fit system (e.g., H7/h6 for dowel fits), choose reamer geometry for the alloy, and set allowance and coolant parameters. For thin sheet parts, they design nests that support the zone around each hole; for frames, clamp locations are planned to prevent twist.
Operators track tool life by parts‑per‑edge and verify the first‑off of each batch for diameter, roundness, and position. Coolant concentration and temperature are logged to prevent hidden drift. For critical holes, teams deploy in‑process probing or go/no‑go plug gauges at the machine to catch anomalies before they multiply.
After machining, technicians verify features with calibrated bore gauges and CMM. Measurement data flows into SPC charts so engineers can see trends and adjust before out‑of‑tolerance events. The loop closes with a concise control plan that ties tooling, parameters, and inspection to each feature’s criticality.
Common Challenges and Proven Fixes
Oversize drift in low‑carbon steel. On brackets running 24/7, diameters crept +0.03 mm above target by mid‑shift. Root cause: reamer edge wear compounded by rising coolant temperature. Countermeasure: reduce surface speed 15%, hold coolant temperature within ±1 °C, and change reamers on a parts‑per‑edge schedule. Result: Cp/Cpk rose above 1.33 and scrap dropped near zero.
Rough walls in aluminum enclosures. Operators observed matte, torn finishes. Analysis pointed to built‑up edge from dull HSS tools. Countermeasure: switch to micro‑grain carbide with a light TiN coating, raise speed, reduce feed slightly, and increase lubricity. Result: Ra fell into the 0.8–1.2 µm band with no galling.
Chatter in 304 stainless. Thin panels rang like a bell. A spiral‑fluted carbide reamer with a pilot plus a backup plate under the cut stabilized the system. With a modest feed increase (to keep the tool cutting instead of rubbing), chatter disappeared and diameters centered.
These examples show that consistent diagnosis plus disciplined parameter changes solve most reaming issues faster than wholesale tool swaps.
Why Choose Reaming Over Other Methods (Decision Model)
Selecting a hole finishing method is a trade‑off among tolerance, cost, and throughput. Reaming is the balanced choice when you need thousands of consistent holes with tight—but not ultra‑tight—tolerance and a smooth finish at fast cycle times.
Table 3 — Hole Finishing Comparison (Procurement View)
| Method | Typical Accuracy (mm) | Surface Finish (Ra µm) | Cycle Time | Per‑Part Cost | Best Use Case |
| Drilling | ±0.10 | 3.2–6.3 | Very fast | Lowest | Non‑critical holes |
| Reaming | ±0.005 | 0.8–1.6 | Fast | Medium | Tight fit at scale |
| Boring | ±0.02 to ±0.005* | 1.6–3.2 | Medium | Higher | Large diameters, adjust on‑machine |
| Honing | ±0.003 | 0.2–0.8 | Slow | High | Thick sections, cylindricity |
| Grinding | ±0.002 | 0.2–0.8 | Slowest | Highest | Ultra‑precision bores |
| *With fine boring heads. |
For high‑tolerance CNC reaming service needs, this matrix explains why reaming is often the lowest‑risk, highest‑throughput answer for assemblies that rely on repeatable fits.
Quality Assurance for Export Orders
Standards & callouts. Use ISO 286‑2 for fits (e.g., ⌀10 H7) and ASME Y14.5 GD&T for true position and perpendicularity. State surface roughness for functional holes (e.g., Ra ≤ 1.6 µm). For patterns, define datums and positional tolerance at MMC to protect interchangeability.
Capability & sampling. For critical holes, target Cp/Cpk ≥ 1.33 in steady‑state production. Align acceptance with AQL: 0.65 for critical, 1.0 for major, 2.5 for minor characteristics (or customer‑specific). Combine 100% plug‑gauge checks for diameter on critical holes with CMM sampling for position.
MSA & calibration. Validate measurement systems with gage R&R; maintain traceable calibration for bore gauges and CMM artifacts. Good data produces good decisions.
Documentation. A concise control plan and inspection records (first‑article, in‑process, final) travel with the lot. This level of traceability accelerates receiving inspection and reduces disputes.
Logistics protection. Reamed holes are functional surfaces—protect them with plugs/caps, edge guards, and VCI inhibitors so the tolerance you machine is the tolerance your customer measures after shipping.

Cost & Lead‑Time Levers Buyers Control
Even when suppliers execute flawlessly, cost and schedule are shaped by how features are specified. Three levers consistently move the needle:
Right‑sizing tolerance. Calling for H7 on a clearance hole may be unnecessary; H8/H9 could deliver the same function at lower cost. Conversely, for dowel fits, H7/h6 earns its keep. Match tolerance to function and volume.
Batching intelligently. Group parts by material and hole size to reduce tool changes and setup loss. Where possible, standardize diameters across a product family.
Designing for fixturing. Adding support lands or temporary tabs near critical holes transforms stability and cycle time. The best procurement saves money at the drawing board.
Sustainability & Reliability Benefits
Reaming removes little stock, so it consumes less energy per hole and generates less heat than heavier finishing methods. That promotes longer tool life, fewer scrap parts, and steadier Cp/Cpk across long runs. For programs involving OEM sheet metal hole finishing, custom enclosure reaming, or bulk order precision holes, those incremental gains multiply across thousands of parts and directly support sustainability targets without special tooling.
Key Takeaways
Reaming is the practical, scalable route to tight‑tolerance, smooth‑finish holes in metal products.
The value shows up in assembly: predictable fits, fewer line stops, and faster incoming inspection.
Clear drawings, correct allowance, and matched QA plans convert risk into repeatability for export orders.
FAQs (Buyer‑Focused)
What tolerance can reaming achieve in stainless steel?
With stable fixturing, carbide tooling, and controlled coolant, ±0.005 mm is a realistic production target for common diameters. State the fit (e.g., ⌀10 H7) on the drawing to align expectations.
How much undersize should the pre‑drilled hole be?
Leave 2–4% of the final diameter as stock. For a ⌀10 mm hole, that is ~0.20–0.40 mm, adjusted by alloy and tool geometry.
Can reaming be used for aluminum parts?
Yes. Aluminum permits higher surface speeds. Combine with good lubricity to avoid built‑up edge, and specify a finish like Ra ≤ 1.6 µm if the hole drives torque or sealing.
How do we avoid chatter during reaming?
Use rigid nests, shorten tool overhang, consider spiral‑fluted carbide for stainless and thin sections, and set feed high enough to cut—not rub.
Is reaming cost‑effective for large batch production?
For tight tolerances at scale, yes. It offers boring‑like accuracy at drilling‑level throughput. For ultra‑precision or thick‑wall bores, honing or grinding may be justified.
Do you support prototypes before bulk orders?
Yes—most high‑tolerance CNC reaming service providers will validate allowance, fixturing, and inspection early, so PPAP/FAI is smoother when you move to volume.
Appendix — Quick RFQ Reference
Common fits
Clearance: H9/H11 with standard bolt shanks
Close clearance: H8/H9 with precision fasteners
Dowel/location: H7/h6 (press or slip depending on shaft class)
Sample positional tolerance callout
Feature: ⌀8.00 H7 through, 8× pattern
GD&T: ⌀0.10 at MMC to A|B|C
Finish: Ra ≤ 1.6 µm, deburr both sides
Inspection planning tip
Critical diameter: 100% go/no‑go plug gauge; SPC on measured values
Pattern location: CMM sampling per lot; retain first‑article report
In precision metal manufacturing, a well‑executed reaming process delivers reliability at scale. Specify it clearly, monitor it closely, and the rest of the assembly tends to behave.

