Why Your Fastener Design Choices Matter
For procurement teams sourcing precision metal parts in bulk, choosing between a spotface and a counterbore isn’t just about technical design—it directly affects pricing, lead time, tooling, and long-term product reliability.
This article, developed by YISHANG’s engineering team, explores the critical distinctions between spotface and counterbore features from a functional and sourcing perspective—giving buyers and engineers a framework for smarter decisions in high-volume custom fabrication.
Spotface vs. Counterbore: A Function-First Comparison
At a glance, a spotface and a counterbore may seem interchangeable. Both are circular recesses with a flat bottom. But from a manufacturing and functional standpoint, the differences are significant:
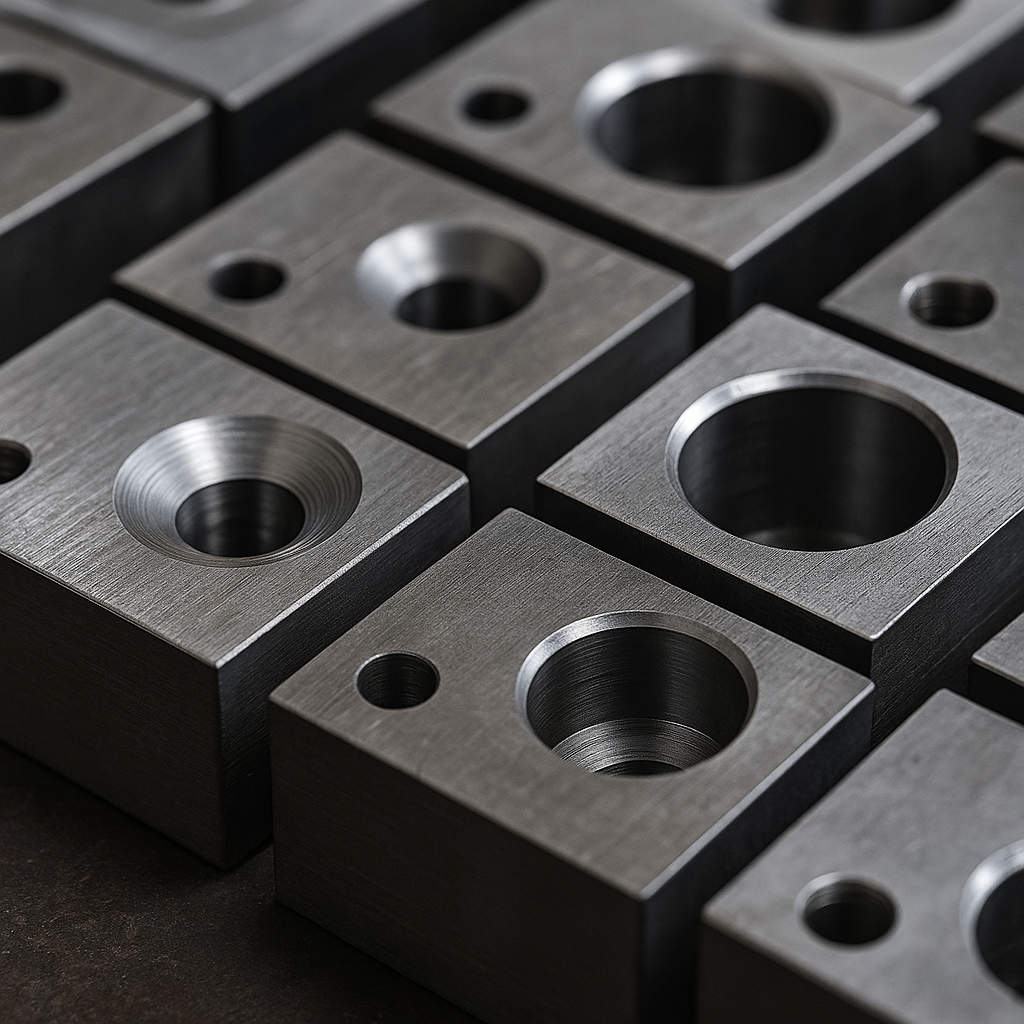
Counterbores are used to fully recess bolt or screw heads below the surface, critical for flush mounting in applications such as electronic enclosures or equipment casings.
Spotfaces, on the other hand, are shallow cuts on uneven or rough surfaces to create a flat seat for washers or bolt heads, ensuring even preload and preventing fastener misalignment.
Geometry and Use Case Table
| Feature | Purpose | Typical Depth | Common Use Cases |
|---|---|---|---|
| Spotface | Flat surface for fastener load | Shallow | Cast parts, welded assemblies, blind holes |
| Counterbore | Recess bolt head flush with top | Deep | Panel enclosures, machined boxes, CNC units |
Understanding this difference is vital when working with features such as blind holes or when you need to balance load across uneven surfaces—especially common in casting holes and welded assemblies.
The Procurement Angle: Why the Wrong Feature Costs More Than You Think
Using a counterbore where a spotface would suffice adds unnecessary material removal, deeper boring machining operations, and can result in tooling failures—especially in thinner metal parts. In contrast, replacing a required counterbore with a simple spotface may cause clearance issues or improperly seated fasteners.
At YISHANG, we’ve seen buyers unknowingly approve drawings with overly complex counterbore specs for non-structural features, increasing machining cycle time by up to 25%. Switching to spotface in these cases allowed our CNC drilling team to cut setup time and lower part costs across several hundred units.
We also recommend caution when working with blind tapped holes. In these configurations, excess depth from unnecessary counterbores can lead to thread engagement loss or tool runout, particularly when combined with angular drilling machine operations.
A recent case study in electronics enclosure production showed that updating design specs to clarify spotface vs. counterbore reduced mis-machined parts by 18%—avoiding costly remakes across 3,000+ units.
Design Clarity: Standards, Symbols, and Supplier Communication
In ISO 6410 and ASME Y14.5 standards, spotface and counterbore features are denoted with the ⌴ symbol. But in procurement and vendor communication, vague CAD exports or incomplete 2D drawings often cause misinterpretations.
Always:
Annotate whether it’s a spotface (SF) or counterbore.
Specify depth and diameter for counterbores.
For spotfaces, define flatness tolerance instead of depth unless critical.
Especially when working with suppliers overseas, such as China-based metal fabricators, inconsistent terminology can cause tooling errors. At YISHANG, we often recommend accompanying a drawing with a 3D model and notes clarifying intent when ordering thousands of parts using cnc drilling machines.
This improves consistency and avoids quoting errors, particularly when boring in machining relies on imported design specs.
Machining Differences: Tooling, Time, and Surface Prep
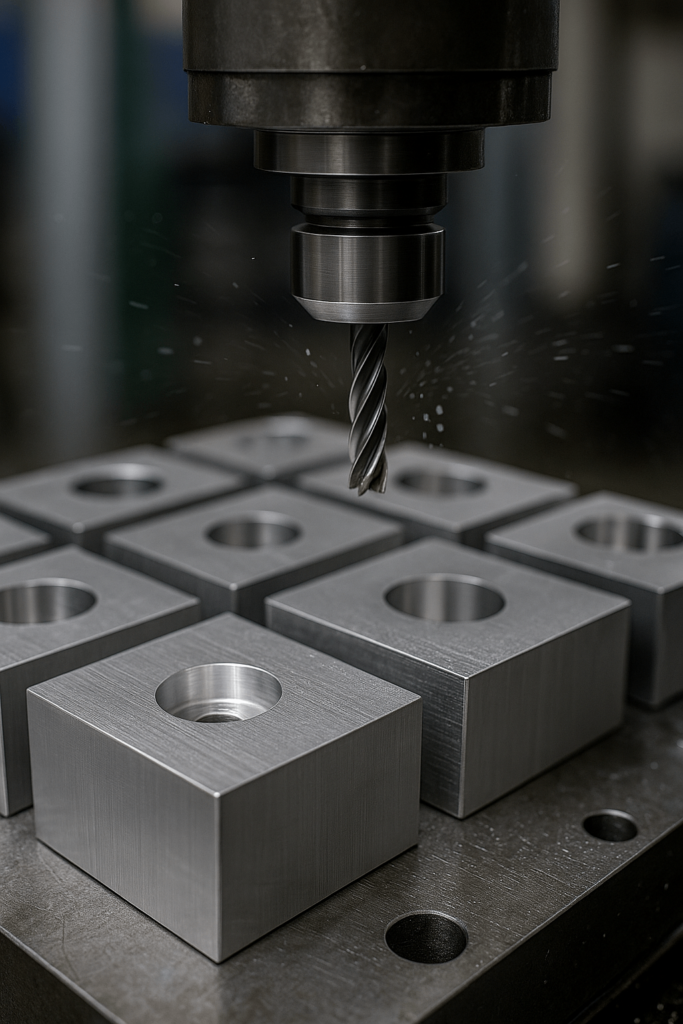
A spotface can typically be produced in a single pass using a flat-end mill or a countersinking tool. It’s efficient, especially for CNC drilling operations requiring quick changeovers.
Counterbores, however, may require multiple passes and tool changes, particularly for larger diameters or tighter depth tolerances. They demand accurate Z-axis control and probing, increasing CAM complexity.
If your design includes several blind holes or close-tolerance mating parts, keep in mind that spotfaces reduce chip load and spindle stress, extending tool life and reducing scrap rates.
Also, in cases involving welding—like sheet metal frameworks—porosity around the seat zone may compromise the integrity of the spotface. We recently supported a client producing medical enclosures, where post-weld machining uncovered micro-pitting under the bolt seat. Understanding the causes of porosity in welding allowed for upstream shielding gas adjustments that improved surface finish and reduced tool vibration.
What B2B Buyers Should Prioritize When Reviewing Drawings
Wholesale buyers and engineers reviewing technical drawings should watch for these red flags:
All holes shown with full-depth counterbores by default (often CAD templates)
No flatness tolerance on fastener seats in cast or welded parts
Excessive reliance on secondary operations without cost/benefit clarity
Revising specs to include only functional counterbores—and replacing non-essential ones with spotfaces—can reduce total fabrication cost by 8–15%, especially across high-volume runs.
If you’re unsure which approach to take, YISHANG’s DFM engineers often provide complimentary drawing reviews during early procurement stages. These reviews consider CNC pathing, part flatness, and fatigue zones based on your product’s actual use case.
Final Thoughts: Small Features, Major Implications
Feature selection at the drawing stage sets the tone for production consistency—not just cost. These features affect machining setup, quoting accuracy, and durability across production runs. Choosing correctly means aligning cost, consistency, and performance—reducing rework and production delays.
To guide smarter decision-making, ask:
Does the fastener head need to be recessed? Choose a counterbore.
Is surface flatness the only concern on a cast or welded part? Use a spotface.
Will the joint face vibration, or are space constraints tight? Counterbores help embed fasteners securely.
Also consider how these features interact with tapped holes, reamed fits, and blind holes. For example, a blind tapped hole paired with a counterbore may require reaming to ensure precise alignment, especially in modular metal assemblies.
Making the right call at the drawing stage prevents downstream inefficiencies, machining delays, and inconsistent assemblies—especially across large-volume manufacturing.
FAQs
What is the main difference between a counterbore and a spotface?
Counterbores recess fastener heads below the surface, while spotfaces create flat surfaces on uneven material for better fastener load.
Can I use a spotface on a curved casting?
Yes, that’s a primary use case. Spotfaces work especially well on casting holes and welded parts with uneven surfaces.
Does switching from counterbore to spotface reduce cost?
Often, yes—especially for non-load-bearing holes or where full embedment is unnecessary. Always validate against structural requirements.
How does poor welding affect spotfaces?
Weld defects like porosity near fastener seats can reduce flatness. Knowing the causes of weld porosity helps preempt these risks in design.
Looking to validate your designs for cost-efficient fabrication? Share your RFQs with YISHANG—we’ll help align your hole specs with real-world machining.


